

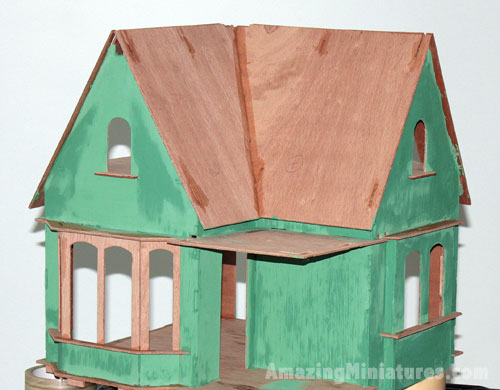
Coventry Cottage Project Part 5: The Bad Paint Job
So I’ve had these pictures sitting in my hard drive for over a month now. Yes, I am finally getting off my lazy bum to share it here!
Since the Coventry Cottage is my very fist dollhouse, I feel uncomfortable spending too much money building it since I’ll probably screw up and money is tight for me. Lets just say, I want to get a bit more experience before shelling out the big bucks.
So in attempting to be frugal, I am going with the bare minimum and only work with the items that are in the kit, when possible. Furniture and shingles are included so I was all set in that department. Since siding was not, I opted to simply paint the exterior as you can see from the image above.
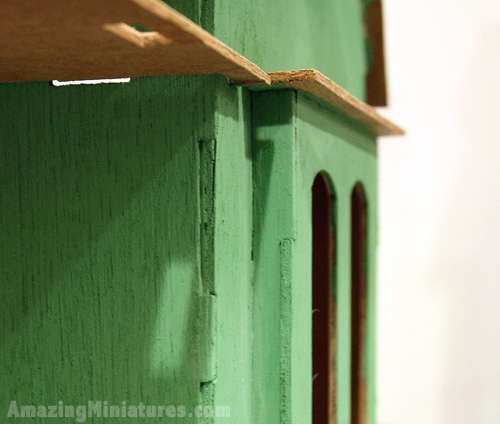
I used acrylic paint and thought that it would be enough. But seeing how I am a total NOOB at dollhouses and miniatures, I was horrified at how apparent the edges and gaps were as I was applying the paint!
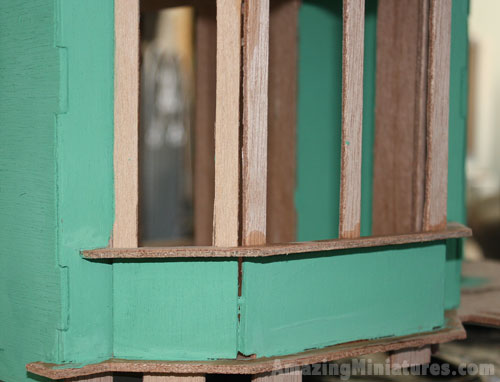
Another closeup on the ugliness above. I do paint on canvas and clay, but dealing with wood is very new to me, as you can tell.
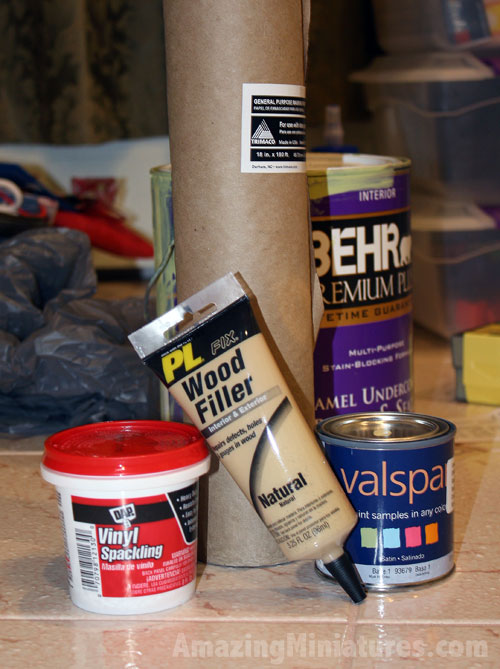
So what did I do? I ran to the nearest hardware store (Home Depot) and nabbed some supplies to fix this situation. Yeah, I know I said that I don’t want to spend money building dollhouses right now, but I know I will need and use these supplies on other projects, so its worth it. Pictured above is some spackling and wood filler to smooth out the corners and fill in the gaps, painter’s paper for the shingles and covering the floor, the small sampler can for the trims, and the big can of paint was some leftover primer from when I painted my room a few years ago.
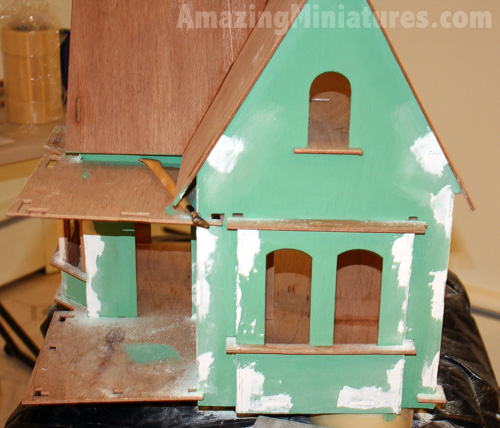
The picture above shows the spackling work in progress. I initially used my clay tool that has a flat head to apply the spackle, but I found that it was easier to just use my fingers.
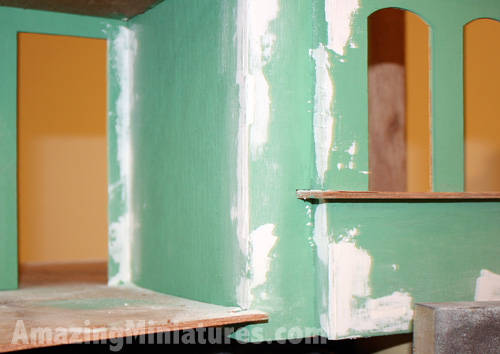
The spackle had to be sanded down. It was a dusty and messy process. Masks are recommended.
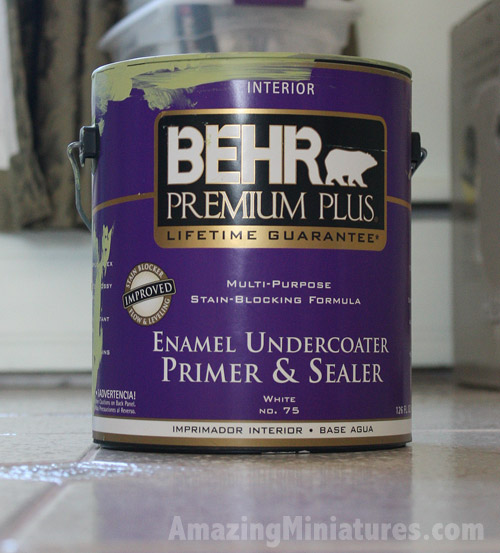
Here’s that leftover primer I mentioned. It’s ready to be painted on the house!
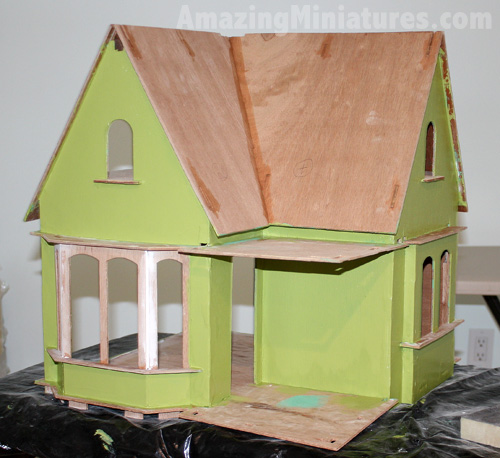
And tah dah! It’s painted and for the most part, you can’t see the wood grain. I know its still not 100% perfect in terms of clean edges (you can see some of the tabbed areas), but it is leaps and bounds better than simply using the acrylic paint.
Even though I had trouble fitting some pieces together when building the kit, this was the most frustrating experience of it so far.
But I am still quite pleased with how its coming along.
What do you think? Any suggestions on other inexpensive alternative methods for finishing a dollhouse exterior?
5 Responses