

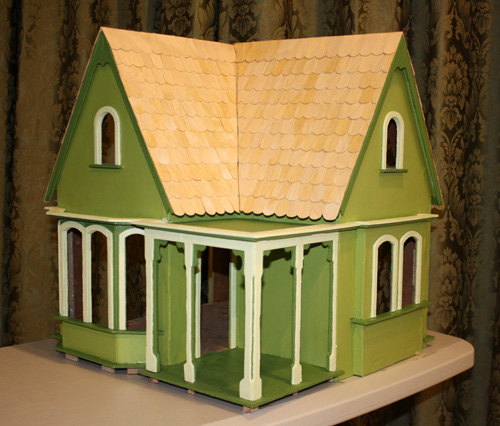
Coventry Cottage Project Part 8: Roofing
This is a doozy of a post just for the simple act of roofing my Coventry Cottage. I took ALOT of pictures this time around and instead of posting the full version of every single image, I decided to use the gallery instead to cut down on the loading time. The images should be in order as the images were taken. Feel free to click on the thumbnail to get a better view of the image.
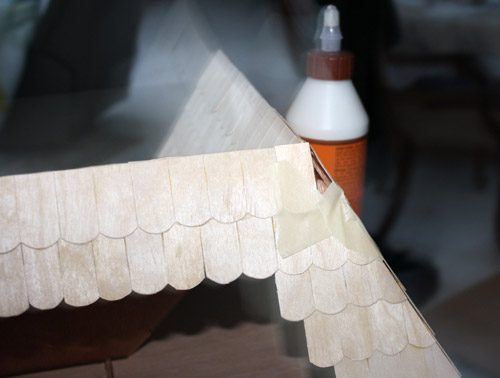
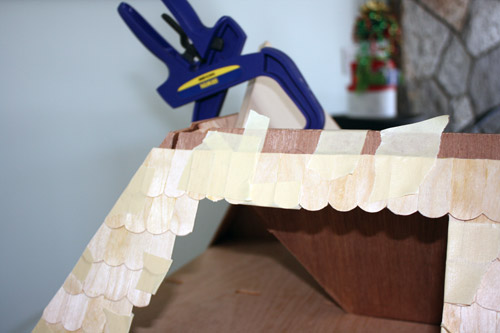
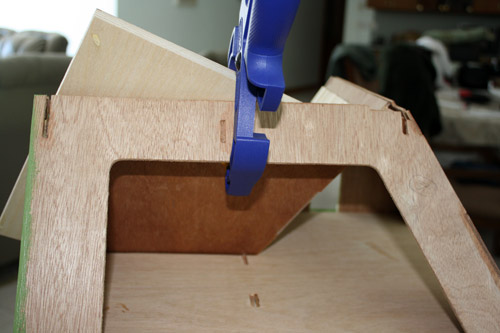
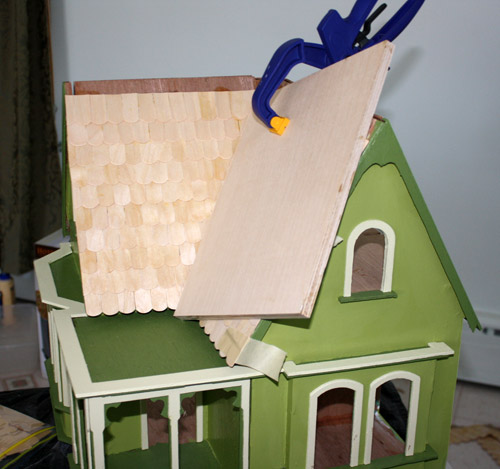
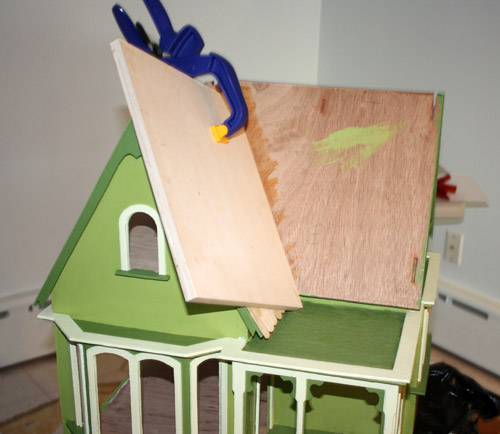
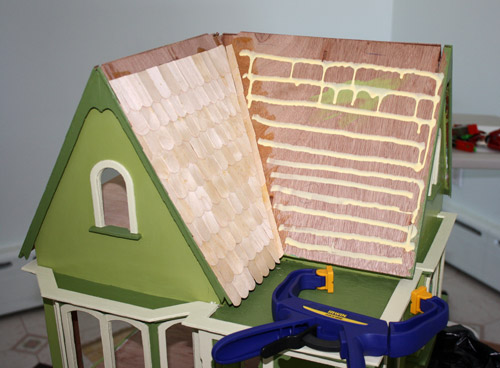
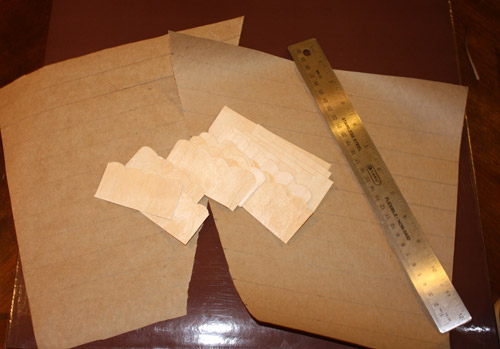
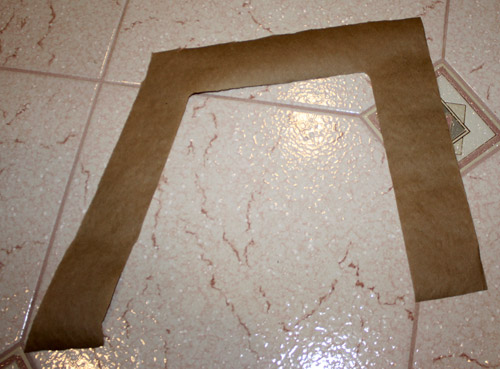
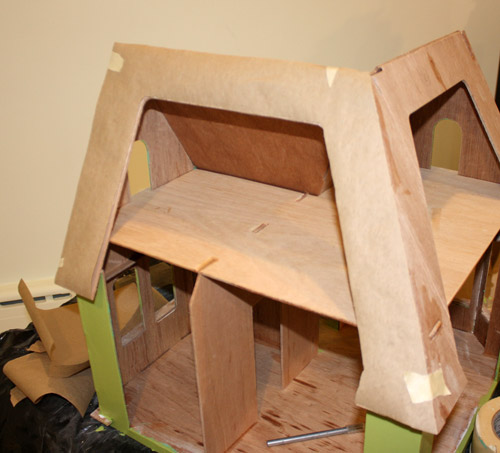
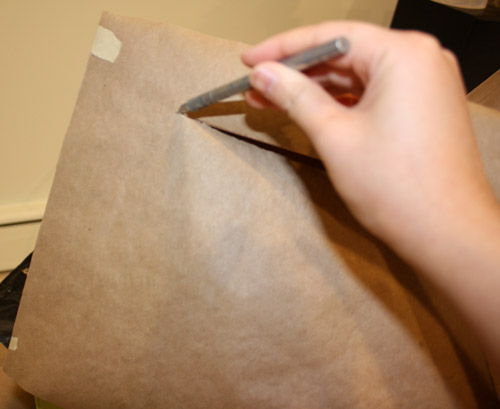

As you can see, I thought it would be a good idea to glue the shingles to pre-measured paper to avoid having to wait for the glue to dry on a slope. I would prefer not to have my shingles slide all over the place you know?
Since the paper was so thin, the glue ended up expanding the paper when it was went and then contracting once it dried. So the measurements were smaller than anticipated once time came to fit the shingle sheet to the roof! Doh!
I read somewhere after the fact that using hot glue would have been ideal for this task. Now I know.