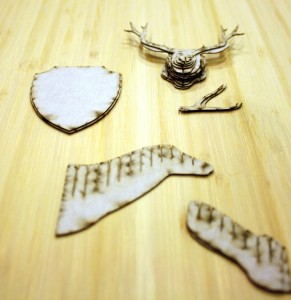
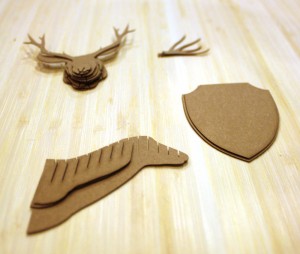
Before you start, make sure you have all your pieces. If you are missing any pieces, please email me at ann[at]amazingminiaures.com.
Please remember that this kit contains small parts and is not intended for children. Adult use only.
It is recommended that you read through the directions in its entirety before proceeding with assembly.
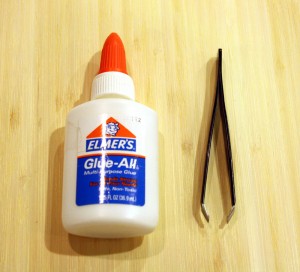
The recommended supply and tool you should use.
White glue works great as you will only need to use it sparingly. When it dries, it also does not discolor the cardboard.
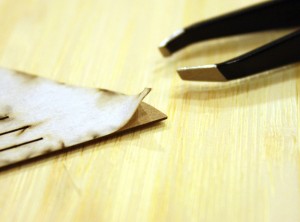
Tweezers are helpful to use when peeling the adhesive from the cardboard.
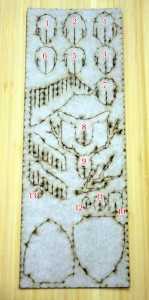
The above diagram is probably the most important as it shows the order to stack your pieces. This is key in organizing and assembling the animal head. Starting at #1 moving to #13 is the order you want to remove your pieces and set aside in an ordered stack.
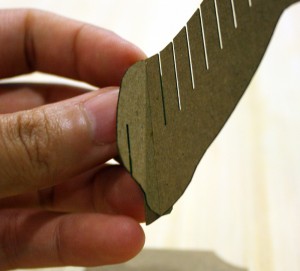
Start removing the first piece. You can gently apply pressure at the bottom of it to lift the pieces up for easy removal.
Following the diagram, start stacking your pieces.
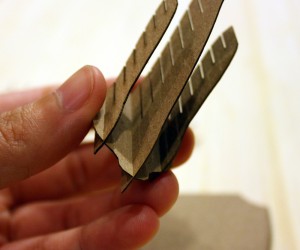
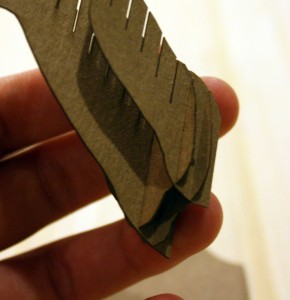
This is what the face stack should look like after all the pieces are removed from the cardboard.
Now remove all the pieces from the cardboard outline. It is recommended to stack the pieces in stacks similar to the picture above. This is so you can keep track of everything.
Peeling
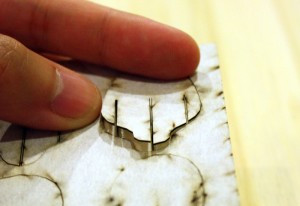
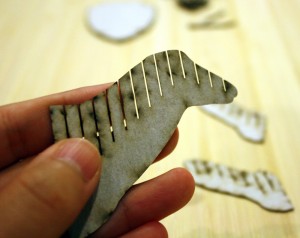
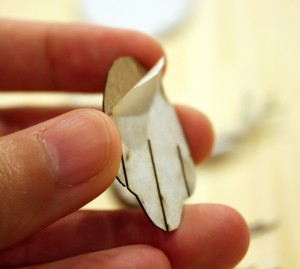
The adhesive used to protect the burn side of the cardboard does not contain enough tack to pull the cardboard away from itself. It is fairly easy to peel off once you get a hold of a frayed edge.
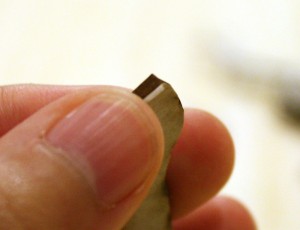
I find that lightly flicking my thumb against the edge of the adhesive, moving the thumb away from the cardboard helps create a gap. If you are unable to do so, this is where tweezers come in handy.
The thinner the tweezer tip, the easier it is to insert between the adhesive and the cardboard for a bit of grip to pull away the adhesive from the cardboard.
As you are peeling the adhesive, remember to do it in the order of your stacks.
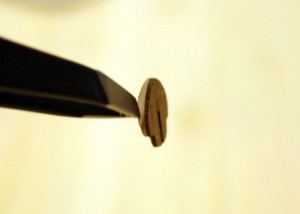
Tweezers do come in handy to get a grip on the smallest pieces.
After everything is peeled, stack them again similarly to how it was stacked the first time after removing it from the cardboard cutout.
Dry fit
You are welcome to glue right when you first assemble it. It is recommended that you dry fit first in case the pieces get mixed up.
Start with the middle (longest) neck piece and the largest face piece (#1 on the diagram).
Add in the two other sides of the neck pieces. This allows for a sturdier base during assembly.
Following the diagram from #2 to #13, start adding the face pieces to the head.
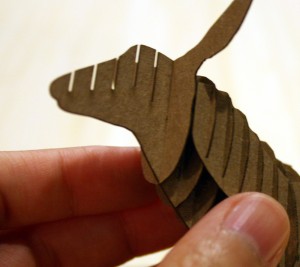
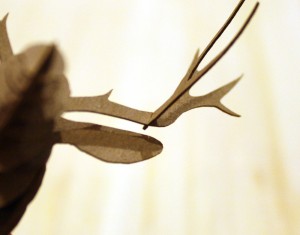
Keep adding the face pieces. The above is #8. The ears and the antlers are on different planes.
Keep assembling up until you get to the very nose (#13).
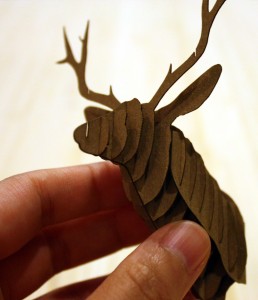
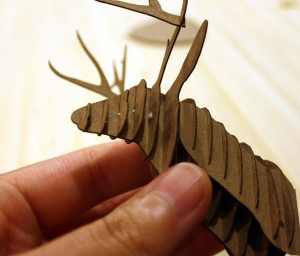
After the entire face is assembled, you can add on the two antler pieces. There are small slots in order to insert them.
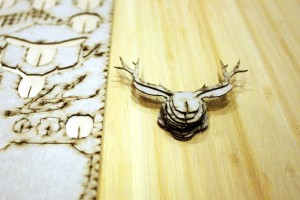
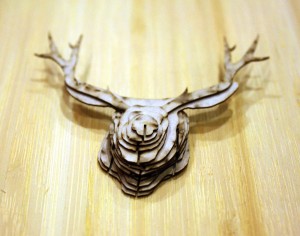
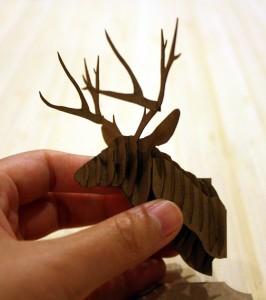
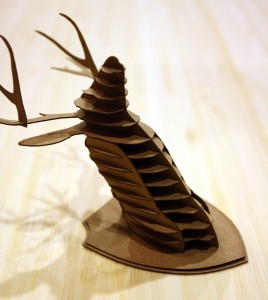
Pictured above the fully assembled, dry-fit deer head.
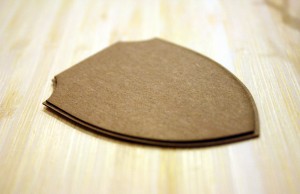
The plaque comes with two pieces in order to give it a bit of dimension. One piece is smaller than the other. Place the smaller piece on top of the larger piece, at its center.
Pictured above the the fully assembled deer head kit.
Gluing
The pieces fit together very snugly. Technically, the only parts that require gluing is the plaque and gluing the head to the plaque itself. However, it is recommended that you glue the pieces together for additional stability and piece of mind.
You do not need much glue for the pieces to stick together.
Just a small dab right at the center of the slot join is adequate.
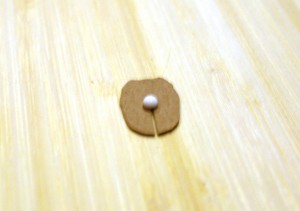
Pictured above is what my gluing work looks like. I did not use much at all.
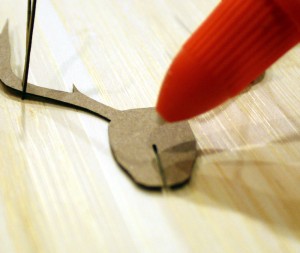
Gluing the antlers to the head requires just a small dab as well.
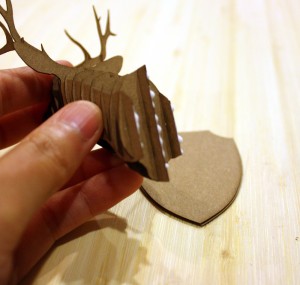
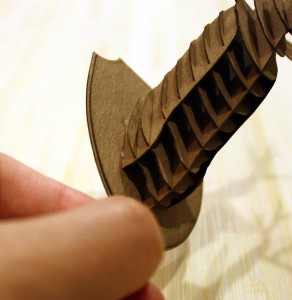
To attack the deer head to the plaque, a few dabs on the back of it is needed.
You may need to readjust the head to your desired placement. Some slight hand pressure for a minute or two while the glue tacks up is recommended.
And you are DONE! Enjoy!
If you have any tips for others, questions, or comments, please let me know below!

