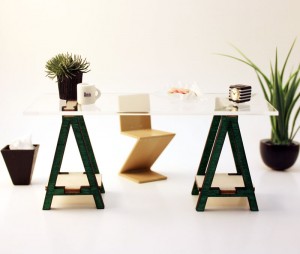
The VIKAesque wood kit is an affordable way to get a modern office desk for your dollhouse, customized to your specific tastes. And now after a few versions, it is refined to the point where it is super easy to assemble. Here’s how!
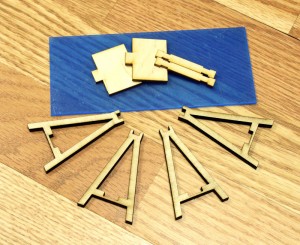
The picture below shows all the parts you should have received in your kit.
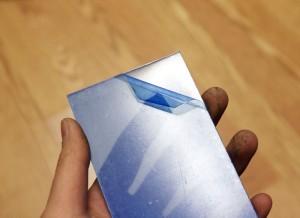
- The blue piece is the clear acrylic table top. It is covered in a blue protective film. In some cases, it make be covered by a white or clear film. (1 table top)
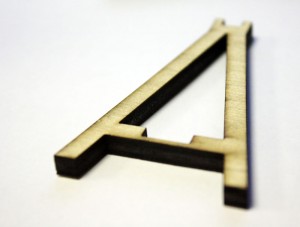
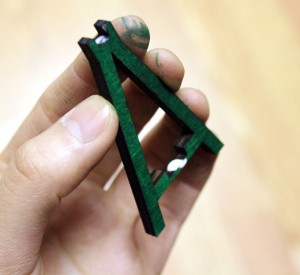
- The triangular pieces are the base of the trestle legs. (4 trestle leg base)
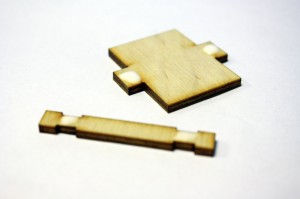
- A “connector” piece. The large, fat rectangular pieces is for the bottom shelf of the trestle legs. (2 bottom shelf)
- A “connector” piece. The thin rectangular pieces is the top of the trestle. (2 trestle top)
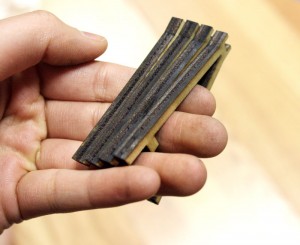
During the laser cut process, there may be some burnt patches or discolorations of the material from the soot. The burnt edges do have a certain aesthetic to it that some people may like and you are certainly welcomed to assemble it as is. Just keep in mind that the kit is meant to be stained or painted.
Also due to the nature of the laser cutting process, you may have to clean soot from the edges of the pieces. A very lightly damp towel will make quick work of the soot.
After cleaning, you may want to paint or stain the pieces (here’s a quick tip on how you can stain the pieces with a marker!). I find it easier to do before assembly as it allows you to sand away any rough edges or paint/stain the various pieces different colors for a more unique look. If you prefer to paint or stain it after assembly, that’s fine too! Remember, there is no wrong way to do this!
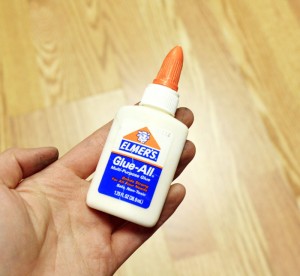
Other than however you decide to finish the piece, the only other tool you will need is glue. In this demonstration, I am simply using white Elmer’s glue (mixed with a bit of wood glue).
NOTE: The type of adhesive is also dependant on how you finish it and when you finish it.
For example, if you gave the pieces a waterproof stain before assembly, wood glue might not create a strong enough bond, and you may need a water insoluble glue, like E-6000 glue.
In another example, if you plan on finishing the piece after assembly, then any good old wood glue will do, as you will be gluing unfinished wood pieces together.
STEP 1: To start the assembly process, dab a bit of glue on the tab/slot areas of the connector pieces as shown in the image below.
And/or you can dab glue to the tab/slot area of the trestle legs as shown in the image below.
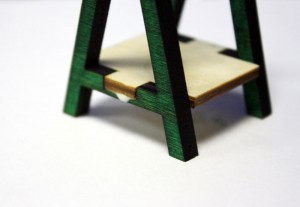
STEP 2: With it glued, take the shelf connector piece and attach it to the trestle legs. I find it much easier to start at the bottom, with the shelf as it helps stabilize the leg.
If you notice glue oozing out, wipe it away quick!
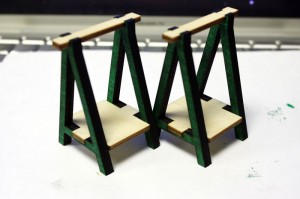
STEP 3: Attach the top connector piece to the top of the legs. The top pieces have been tabbed so there is no need for measuring.
Repeat step 2-3 with the second leg.
NOTE 1: To apply pressure while the glue is setting, you can use a small clamp for each side of the bottom shelf or simply use tape. You can apply pressure to the top by laying something flat on top of the legs and wait for the glue to dry. (not shown, images to come)
NOTE 2: Although the pieces are fitted fairly well, it doesn’t hurt to square it up with a small carpenter’s square so that the legs are squared properly!
Let the glue dry for however long it is recommended by the manufacturer.
We’re almost there. Now you just need to peel off that protective layer of film on the acrylic table top and place it on top of the legs!
And you are done!
Where to buy? Etsy
Vikaesque Wood Kit. Photographs by Ann Nguyen. Sandwich by Snowfern Clover. Mug: unknown. Everything else by FranMadeMinis.

