Warning: this post is more so about photographing minis than minis itself!
Also – if you don’t want to read the summary of photography lighting, go strait to page 2 for my directions on making a homemade light box.
![]()
A big reason for my being such stickler for details with the minis I make and why I spend so much time sanding like a mad woman is because my other hobby (one among many) is photography. Close up photographs can really pick out the flaws and make miniatures look unrealistic.
After a few years dabbling in photography, you will pick up a few things. One of which is how important lighting is.
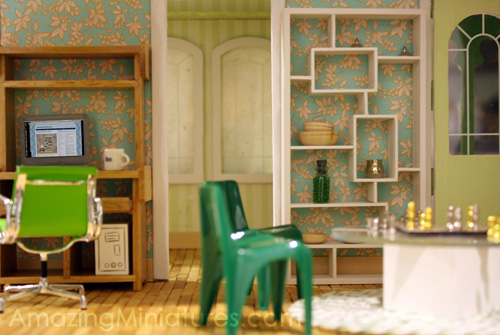
Compare Picture A:

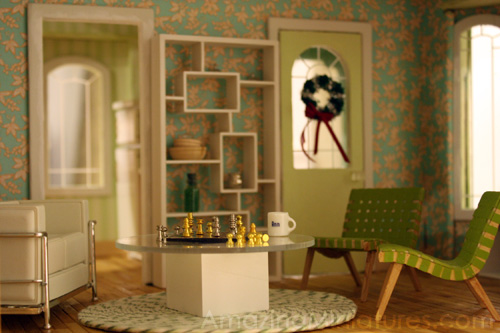
To Picture B:

Picture B is clearly the superior image though it is of essentially the same scene. Why?
Picture A is illuminated with direct lighting from the overhead pot lights in my living room. The shadow contrasted with the extra bright (and washed out) colors on the various surfaces makes the whole scene look rather harsh. You get the same harsh effect with flash photography, which is why I don’t like it very much.
Picture B makes use of the indirect lighting of the overhead pot lights bouncing off the surrounding area, through the windows, and door ways. It makes the shadows much softer and IMO, makes the scene more convincing. Heck, if you’re wondering how I did it, the big secret was that I used my brother’s slacks to cover up the sides to allow the light to filter in through the windows and such.
This desired softer look is why you see photographers with those white umbrellas, or funky contraptions attached to their cameras. These contraptions are there to diffuse the flash to soften the shadows.
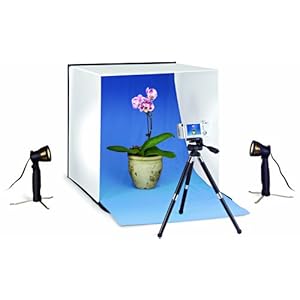
Another way to fake indirect lighting is to make use of light screens or tents. Here’s what one of these doohickys look like:

The lamps flank the sides of the box with the lights filtered by the screens which gives the final image a softer appearance. This is especially important if you sell anything anywhere and want to have professional looking photos. And if you’re wondering, yes, you can achieve just as good results with a point and shoot camera as you would an expensive DSLR camera.
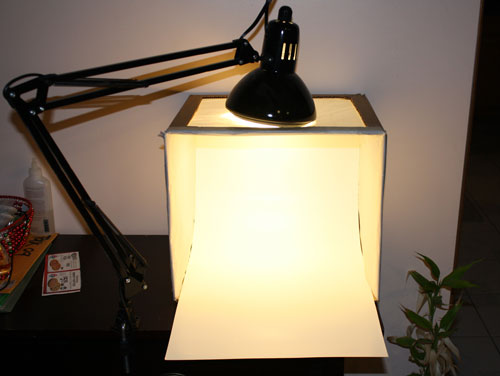
But instead of paying the $50 bux or so to get the store bought light tents, you can make your own for under $5.. or free!


Really helpful because I always was wondering how this cool photos were made and I did not know. Also this is a cheap solution .
Thanks Tam! Also just checked out your blog… good luck on the primrose!
Thanks.
Great tute. I also found Posie Gets Cozy’s photography instructions very useful when I first started blogging (although my tripod was stolen last year so I’ve been doing without ever since):
http://rosylittlethings.typepad.com/posie_gets_cozy/2006/01/how_i_take_pict.html
That sucks about the tripod.. those things are expensive! I have a table tripod.. it literally only goes up 6 inches tall. I need to save up for a real one!
Also, that tutorial is indeed very helpful for beginners – and it is an easy read too. I recommend it if anyone is looking for more information.
Thanks SS!
nice
What kind of light bulbs do you use for this set-up? Also, do you use the cooler light bulbs, versus the yellow/warmer ones?
I just use regular desk lamps. I do a lot of post work editing w/ photoshop afterwards. I focus mostly on the composition of the image and not so much the color.