I just stuck in the “under $5” bit, because I am assuming you already have some of tools or materials needed to make this light box. If you had to go out and buy everything, then it would be more than $5.. and you would be better off buying a light box anyway! So lets assume that you have the supplies… 😉
Here’s what you’ll need:
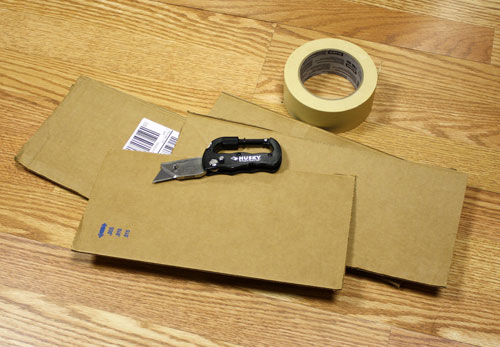
- Box cutter/Xacto knife/scissors/kitchen knife/something that will cut through a card board box!
- Masking tape/double sided tape/glue stick/something sticky
- A decent card board box
- White tissue paper/fabric
- Poster board/fabric
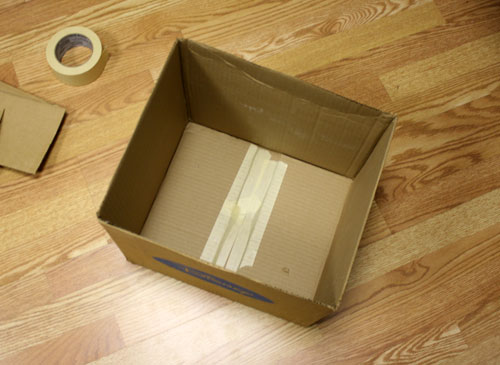
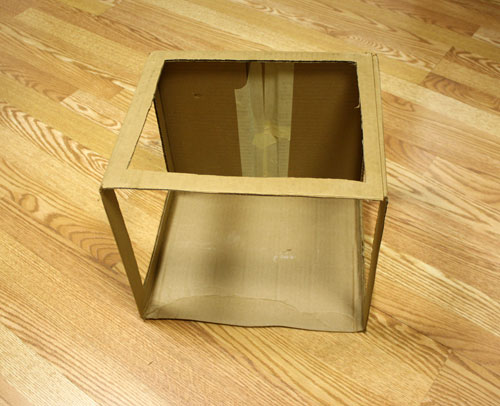
Step 1: Tape down one side of the box to make it nice and sturdy and chop off the entire other end of the box.
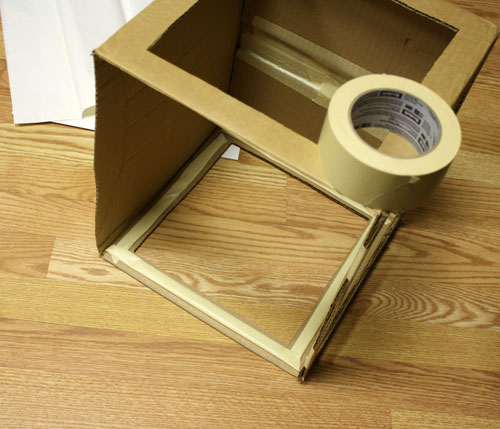
Step 2: Cut windows 1″ to 2″ from the corners on the left, right, and top of the box.
Step 3: Tape the inside of the windows – double sided tape or a glue stick works best here. I did not have any at hand so I folded my masking tape to have the adhesive side out on both sides.
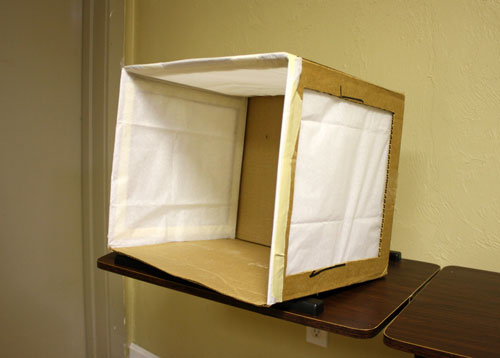
Step 4: Add in the white tissue paper. You may want to cut it to size first. Use the exterior to measure. I used two layers of tissue paper.
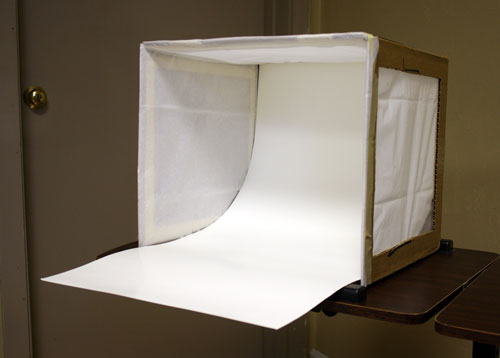
Step 5: Using the double sided tape/glue stick/masking tape, adhere the poster board to back of the box. I taped the poster board from the top to the middle of the box so it will stay put.
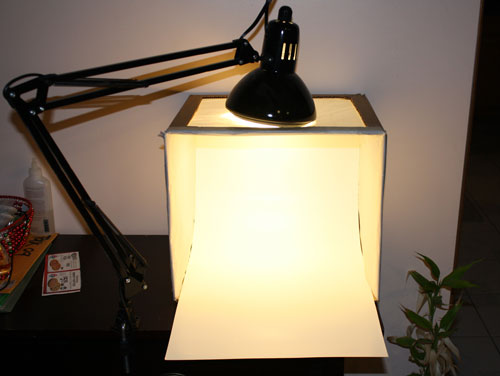
Step 6: Add lighting to taste!
This was a quick setup for the photo. I don’t normally set my lighting this way. I prefer two tall desk lamps pointing down a few feet away from the box. Normal overhead lighting can be used for the top – though if you do this, be sure that there is no direct light on the object. Also, keep in mind, you can really do just about any lighting configuration and the pictures can come out great. Just experiment!
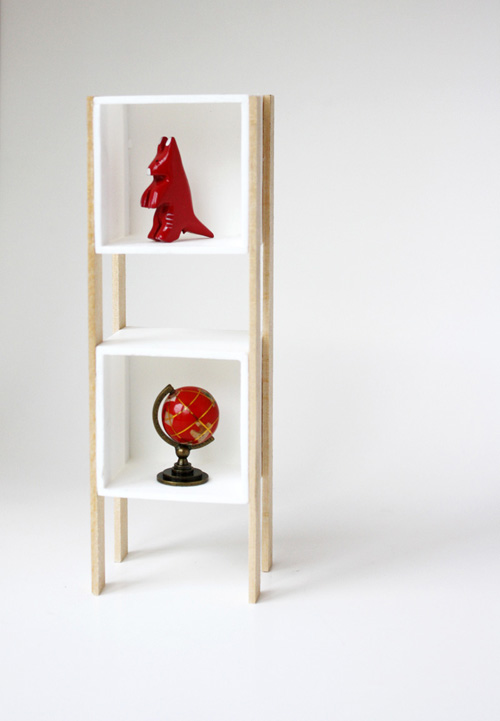
Voila! This photo was taken in the evening, with use of a home made light box, two lamps, and no flash.
I hope you enjoyed this crash course on photography lighting! It was fun writing it. Be sure to let me know if you have any questions!

Really helpful because I always was wondering how this cool photos were made and I did not know. Also this is a cheap solution .
Thanks Tam! Also just checked out your blog… good luck on the primrose!
Thanks.
Great tute. I also found Posie Gets Cozy’s photography instructions very useful when I first started blogging (although my tripod was stolen last year so I’ve been doing without ever since):
http://rosylittlethings.typepad.com/posie_gets_cozy/2006/01/how_i_take_pict.html
That sucks about the tripod.. those things are expensive! I have a table tripod.. it literally only goes up 6 inches tall. I need to save up for a real one!
Also, that tutorial is indeed very helpful for beginners – and it is an easy read too. I recommend it if anyone is looking for more information.
Thanks SS!
nice
What kind of light bulbs do you use for this set-up? Also, do you use the cooler light bulbs, versus the yellow/warmer ones?
I just use regular desk lamps. I do a lot of post work editing w/ photoshop afterwards. I focus mostly on the composition of the image and not so much the color.