Ever since writing the first post on the Creatology dollhouse, I find my blog getting quite a few hits from the search engine from people who were looking for the instructions. Since I didn’t actually have instructions, I thought it would be useful to put some pictorial directions/tips together as I was assembling a new dollhouse.
I also did mean to get this post out sooner, but sifting through over 300 pictures, editing them, and writing about it took much longer than anticipated. I had to break it up into a few days to finish it up, sorry!
How to Use This:
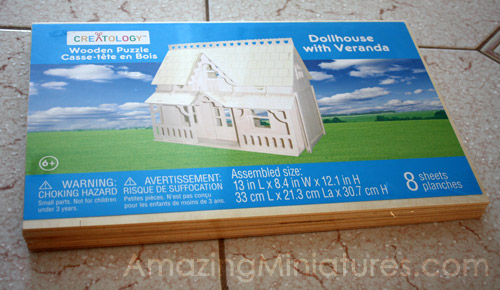
You can follow along by clicking on the first image of the dollhouse in its original packaging. You can find the instructions and tips written on the description are below the clicked picture. To continue, you can simply click on the right of the existing picture (where an arrow will pop up) which will lead you to the next image in the set.
- Creatology Dollhouse with Veranda Directions
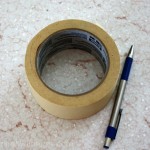
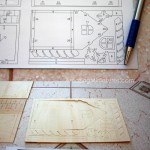
- Tools Needed. The masking tape is to hold together the pieces. The pen is used to poke the small bits of wood from the parts.
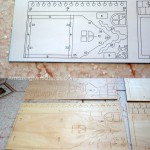
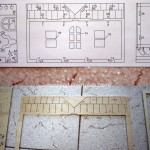
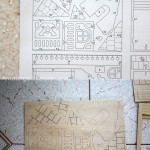
- Creatology Dollhouse with Veranda, the Instructions
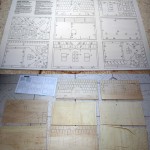
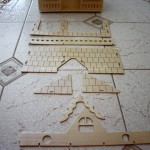
- Laying out all the pieces will really help you find the correct pieces as you follow along.
- Get the base of the dollhouse.
- Get the sides of the dollhouse
- Get the sides of the dollhouse
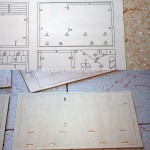
- Punching out the scraps. These can be useful later on, so don’t throw them out yet.
- Get the front wall of the dollhouse
- Get the second floor of the dollhouse
- Get the first floor wall piece.
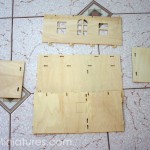
- Now you want to lay out all the basic framework pieces. Laying out the pieces will make it easier to assemble. (not shown is the first floor wall piece, sorry!)
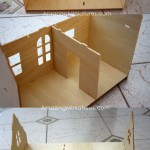
- Assemble the framework pieces and don’t forget to tape them up for extra stability!
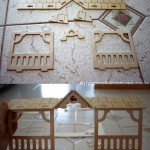
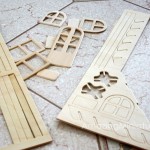
- Now that the basic framework of the dollhouse is put together, we’ll start getting the parts for the veranda. The veranda roof is seen above.
- More veranda roof pieces as well as the porch parts.
- Like how the base was assembled, you want to lay out all the pieces first and then assemble it.
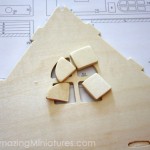
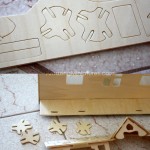
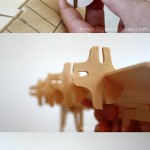
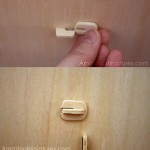
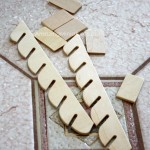
- Now we want to connect the veranda to the house. Look for these funky clover shaped pieces.
- The most troublesome part is how to connect them. Notice the direction the slots point. We know we need to find one that fits the first floor wall (bottom), the second floor wall (top), the second floor (left), and the awning (right pointing down). Connect the pieces.
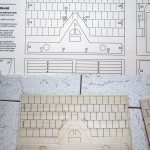
- We’re almost done! Now is the time to finish up the second floor and the roof.
- Once again, we’re laying out the second floor and roof pieces.
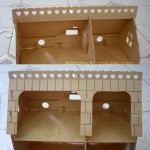
- Assembly of the front.
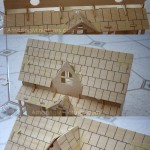
- Assembly of the rest of the roof.
- Now we’re at the home stretch. Look for these little oval pieces. These pieces are for the bottom of the dollhouse. Once the walls are slotted in, you want to just slip the tabs into each other and you’re all set.
- The dollhouse should now be mostly finished. These pieces here should be the only bits left.
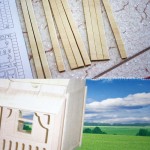
- These long sticks are to cover the sides of the dollhouse, as seen in the picture on the front.
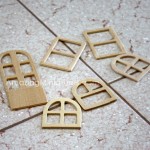
- These are the window and the front door trim. Unfortunately, there is only enough trim for one side of the house. They look better if placed on the outside of the house, but they can be placed inside if you prefer.
- These pieces are used to make the stairway.
- Remember how I told you not to throw away the scraps? Some of the scraps can be used as a miniature cutting board, other decorations, and the wood is easy enough to cut through that you can make your own furniture from them.
- The finished dollhouse! Just follow these steps.
I didn’t want to blow up my server posting all the images at once, so it is in the gallery format which may or may not be easy to follow along. If its hard for some folks, please let me know. I can look into putting together a PDF file or something.
Feel free to comment if you need any help or clarification!

Amazing project,beautiful dollhouse!!! I invite you to participate in my little giveaway,sweets regards from Spain.
Thanks Sonia, and thanks for the invite. I’ll definitely stop by!
Thanks so much for putting these instructions! My daughter and i are putting this together and it was a big help. We are painting ours before it goes together.
You are very welcome! It will turn out great!
Thank you so much! I’ve had this kit half-built for ages (read: over a year). I’m not very technically minded, and after a frustrating attempt or two I gave up. Thanks to your directions I was able to complete it, and quickly too! Thanks very much.
No problem Cara!
Thank you so much. I was able to score both this and the furniture for $6 at michaels and wasnt sure if it was a “real” dollhouse.
No problem. It is such a great deal if you’re willing to put some work on it.