Not that I’m a seasoned miniaturist pro or anything, but I wanted to share this tutorial on making an a simple rug for your dollhouse. The goal was to not have to go out and buy the materials but use the stuff I already have around the house.
So here’s the supply list:
Yup, just tape and pretty color twine. I’m sure duct tape, or double sided tape, and yarn can work as well. Now that’s out of the way, lets start the fun!
Step 1: Setting up your base
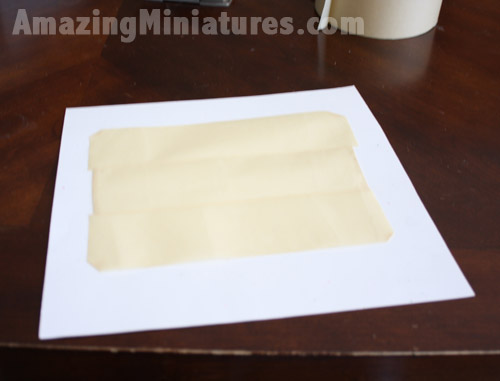
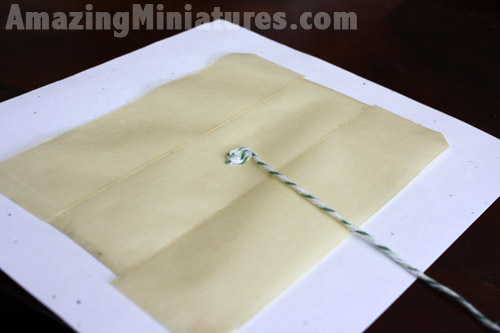
I set up the tape with the adhesive facing up. It was a bit tricky getting it to stick to the back and I did so by folding back a wee bit of the ends so that it can adhere to the paper as well. You want to have more tape than you need because you will be cutting the rug to size.
In a perfect world, I would have used double sided tape for this, you’ll see why.
Step 2: Adding the thread to the adhesive
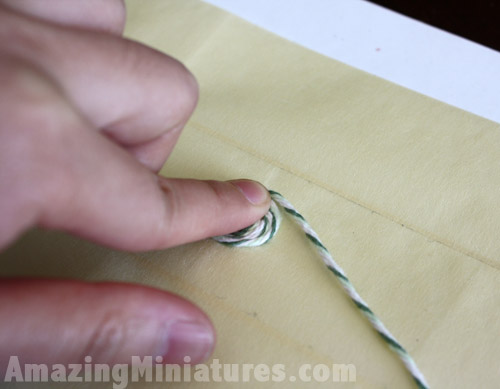
Since this was just a simple, circular rug, I started with one end of the twine in the middle and I started swirling it around the center.
All the while, I used my finger to hold it down as I made the circular pattern with the twine.
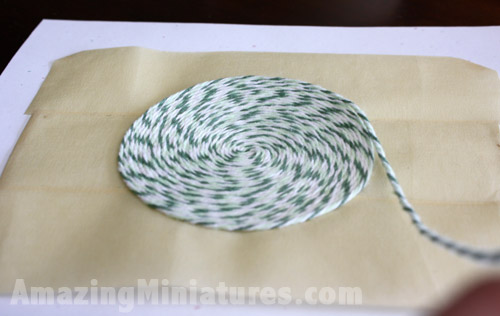
Above is the progress so far.
Pictured above is the size that I want it.
Step 3: Trim the excessive tape
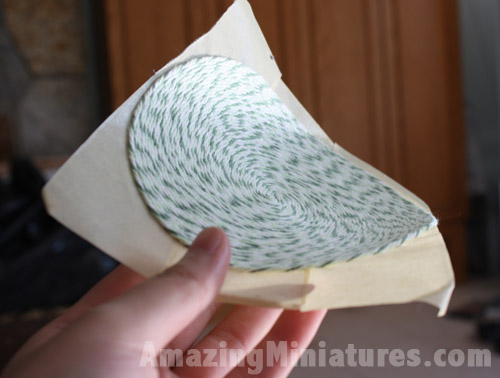
Here’s what it looks like after I cut out my rug outline from the tape. The shape of the rug is held together by the adhesive.
At this point you will notice that the tape is not flat. In this case, we will go to the next step.
Step 4: Backing your rug with stiffer material
I only had cardstock at hand, so thats what I used. Other materials that will also work is cardboard (like from a cereal box) or even 1/16″ sheetwood will work as well. I used wood glue, but I’ve used tacky and even glue stick with success.
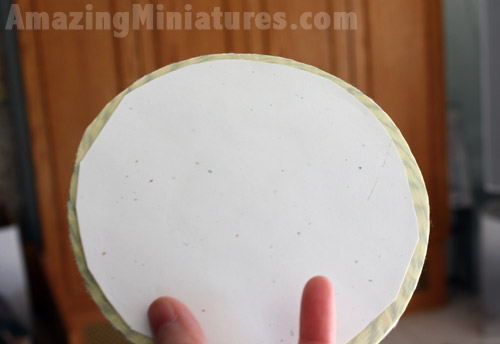
You want to get the circle as close to the edge as possible. I rushed through the process for this tutorial, so mine is pretty sloppy, and not as close to the edge as I would have liked.
Step 5: Flatten it
You will need to place your rug on a flat surface (like your dining room table) and some flat heavy objects (like a few hardcovered books), and place your rug in between those items and leave it for an hour or two, depending on how long it takes for the glue you used to dry.
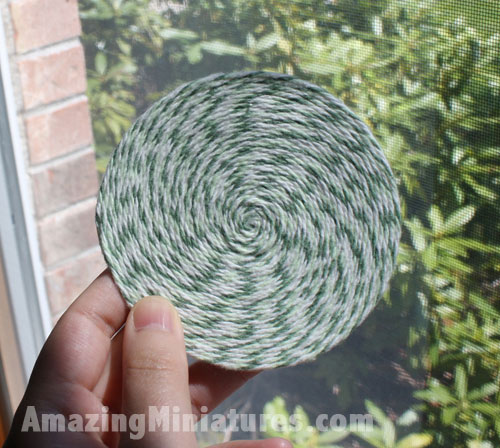
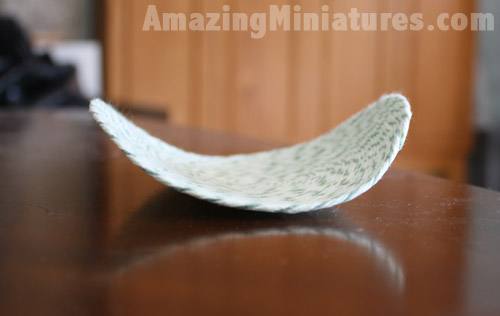
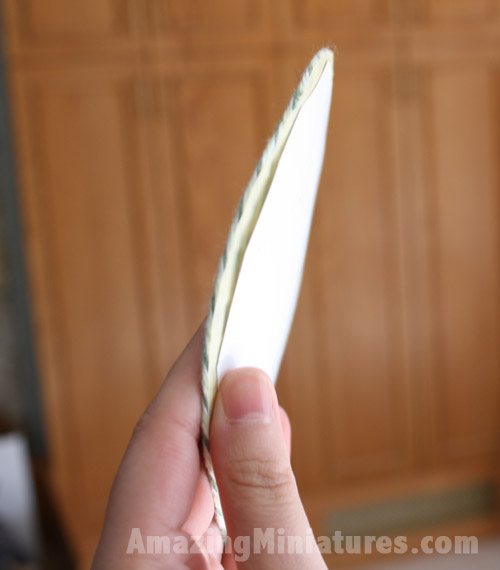
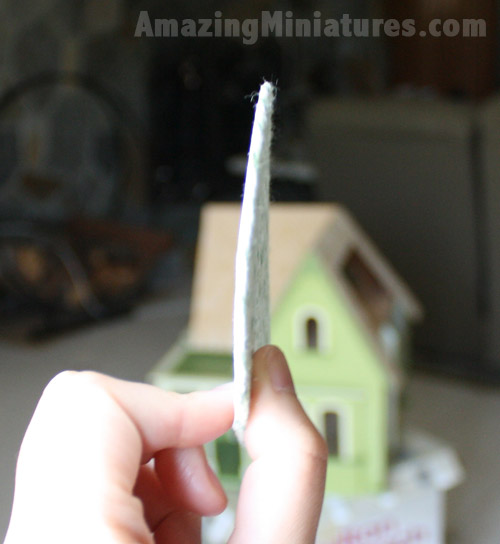
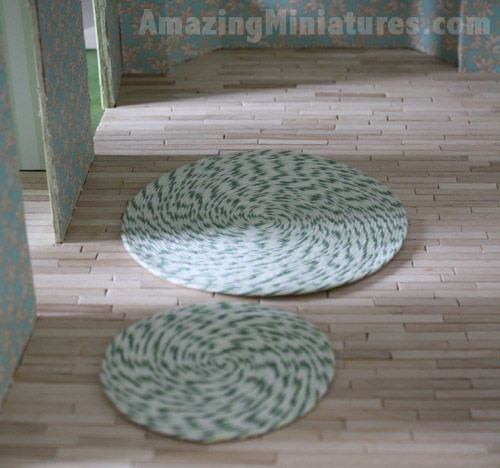
I didn’t take any pictures of this process, because it was pretty much a bunch of books on my dining room table, so there wasn’t much to see. But here’s the final product:
Nice and flat!
There we have it, simple rugs that took me less than 10 minutes to make (not including glue drying time).

Thank you so much ! This is a great idea.
You’re very welcomed Darla!
Im going to try this it looks great thankyou
You’re welcome, Tina!
This is just want I wanted for my old fashioned sewing room. I have name the shadow box and needed a rug. Thanks for sharing your great idea.
No problem Carolyn!
this looks simple and effective gonna buy some wool n give it a try, thanks
Thank u for sharing this! I just made my 1st one and grabbed a handful of yarn – ready to do more!
No problem! Glad you’re having fun!
I have done something similar to your rug. I actually spread glue over the back and let dry before removing it from the tape. it gives it a stiff back without having to use some other material to make it stiff. Thanks so much for the ideas.
Great idea Dottie! Thanks for sharing!
Thank you. It is actually the clearest and best tutorial I have seen on these and now I definitely want to make some myself! 🙂
You are very welcomed! Enjoy!
You may not be “professional” but these rugs are so cute!! I can’t wait to try!
Thank you for the excellent tutorial!
What a nice and simply idea. Thank You to help us on the road (I am Dutch and say the English words in the Dutch way)
You are so inspiring! Thanks so much for getting me into the groove for making something chic for my old (1947) dollhouse. Any easy ideas for mini curtains? Thanks!
Awesome!
Lovely! I still don’t understand why you didn’t used double sided tape. Then you wouldn’t need glue right? Thanks
I didn’t have any on hand at that time =)
Could you do this and use cork on the back to make a coaster?
Thanks for this quick idea. I have been braiding strips of material and it takes more time.