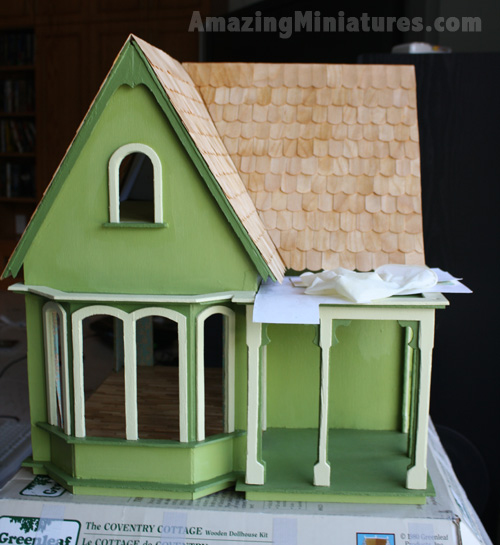
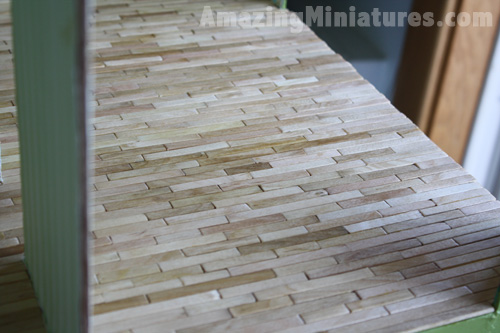
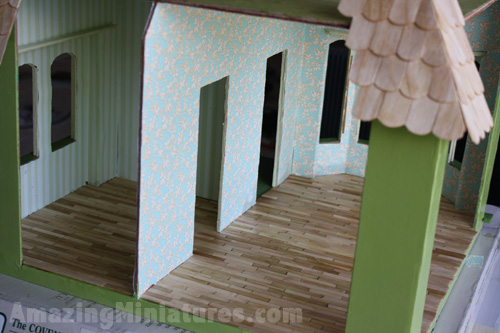
So its time to finish off the floors and the roof. I knew from the beginning that I wanted to have a natural finish for my Coventry Cottage’s “hardwood” floors, as well as the roof , so I skipped the staining part and went strait to applying polyurethane to the floors and roof. You can see in the image above that the wood grains show so much better on the floors and it makes it look sooooo much better!

Pictured above is my application of the varnish to the roof. What a difference a single coat of poly makes!
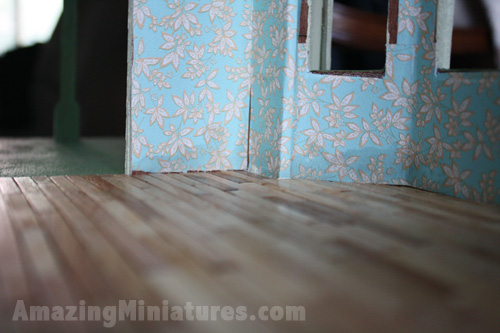
I did have some problems though… I had anticipated that the wall paper would soak up some of the poly, but I didn’t worry about it too much because I planned on adding in a baseboard to hide it. I did not anticipate my accidently SPLASHING some on the wall! Damn those tricky corners! ACK! Yes, now I understand why people typically add in the wallpaper AFTER the floors. *grumbles*
I am however, not going to re-wallpaper, because thats my least favorite part of this whole process. I’m just going to stick the sofa in front of it and go on my merry little way.
So despite the now-blah wallpaper, I’m pretty darn pleased with the outcome.
If you’re wondering, I used the water based polyurethane from the hardware store, applied it with an inch wide painter’s brush, and it took a 24 hours to fully dry. This was done outside and I let it dry outside for most of the day (the weather was lovely), which was necessary, because it was stinky. A well ventilated area definitely is needed.


No comments yet.