Its been a while since I posted any updates on my Coventry Cottage project… over a whole month in fact! So here’s a pretty long post on what went on.
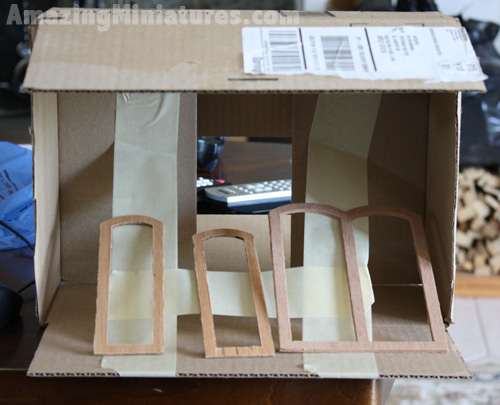
Starting off, I made a junky paint box to aid in the painting. Its a horrible excuse for a paint box since its too small and there is too much overspill when using a spray paint can with it, but at least the mess wasn’t as bad as expected.
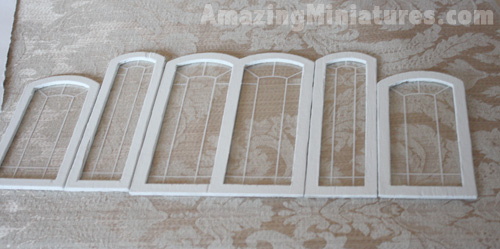
Here are the trims after painting and gluing on the vinyl “glass.”
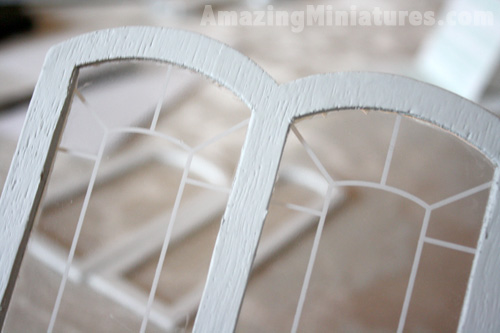
A close up of the paint job. In future dollhouses, I’ll probably spackle the heck out of the trims or make/buy my own to make it look more realistic.
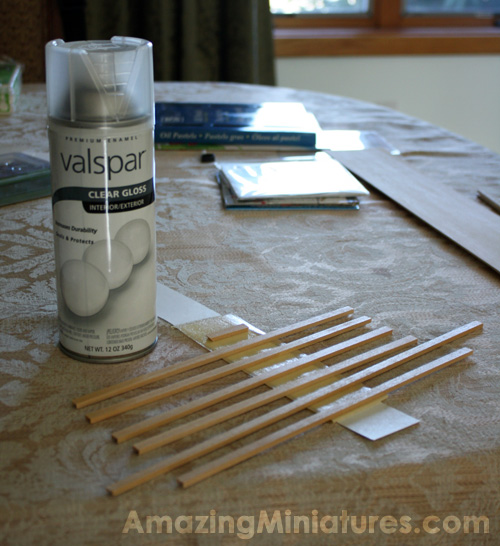
Now to clear coat the floorboards (not shown) and the channel trims that I’ll use to hide the ugly edges. Since I wanted the trims to have a “natural” finish, I used the Valspar clear gloss to coat them.
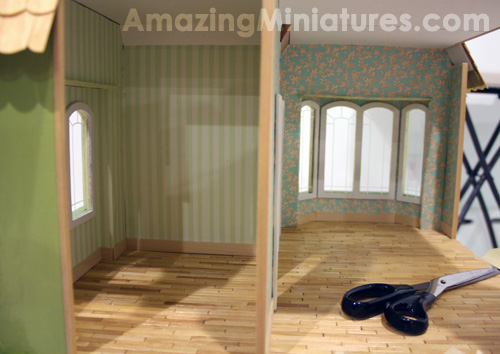
It makes such a HUGE difference after the trims are installed. You can compare it with a similar picture here. Also, I do notice that one ceiling area where its not finished… I keep forgetting to do that!
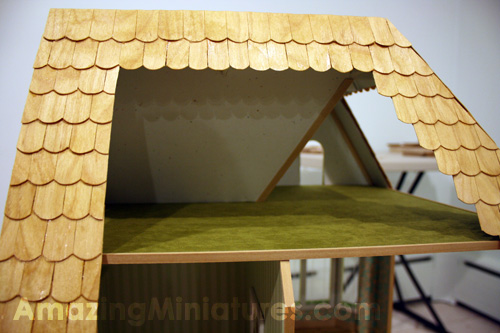
I also trimmed the attic. I am loving it!
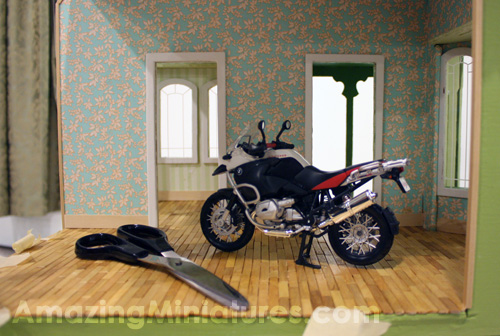
And just for fun…..
ZOMG! A motorcycle in my house.. and a giant scissor!

Ann, I am happy to see a post on your Coventry! It is looking fab and so clean. Miss you on Greenleaf! I have moved on from my Coventry and onto an Artply Highland. 🙂 I really am loving your cottage!
Lyssa!!! Thank you for commenting… I miss you on Greenleaf too! I’m so glad you started a blog… so now I can stalk you, erm, I mean follow you 😉