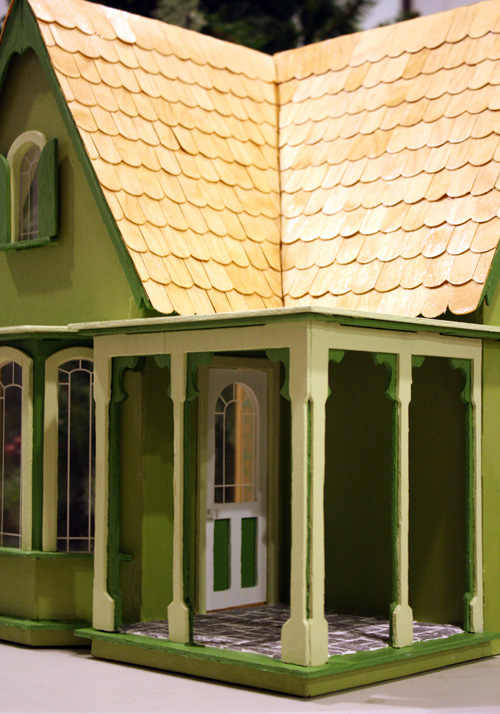
The last time I posted about the Coventry Cottage was in August. At the time of that update I was about 95% done where the last few tasks on the to-do list was:
- Finish and add in the front door
- Finish and add in the flowerbox
- Finish and add in shutters
- Last bit of touch up painting
I know it’s not much, but I procrastinated from doing it for a long while. It’s not that I have some emotional attachment to the Coventry and feared finishing up or something. I am just not a fan of painting. It gets so messy, so quickly, and it’s never just a one day process. And because it was only little bits, it was hard to motivate myself to go through all the trouble for so few parts.
But once I realized that its been almost a year since I started on the Cottage… its about dang time I finish it!
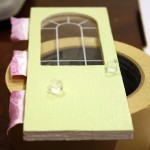
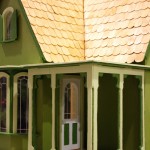
Finishing the shutters and the flower box was strait forward, but the front door was a bit more interesting. To make the front door a working door, I did the piece-of-cloth-between-the-door-and-trims trick to achieve that effect. For the door knobs, the closest thing I can find that worked were these plastic square thingies. I used regular old white glue to attach it for now and will have to bond it with crazy glue as soon as I get some.
Other than that, it was just bits of touching up here and there… and then I was DONE! *happy dance*
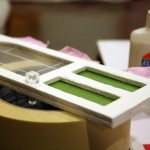
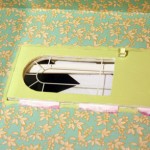
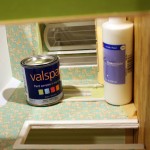
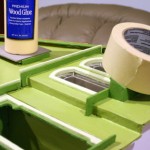
See the in-progress photos below:
I am SO relieved that its over! It was a pain in the butt, but I learned a whole lot from building it.
Stuff I Learned:
Before I started, I thought the kits would be easy peasy to build and that I can bang it out on a good weekend. I was so wrong.
I learned that all kits are not created equal. There are the easier to assemble milled kits by companies like Real Good Toys, the “OK” to build laser cut kits by Greenleaf and other companies, and the generally horrible die cut kits. These die cut kits, specifically from Greenleaf, often have poor quality wood and an imperfect die cutting process. As a result, quite a bit of prep work is required to make it a halfway decent dollhouse. With this in mind, I do regret buying the Willow, since its very doubtful that I will be finishing it anytime soon. It’s also very likely going to be the last die cut kit that I will ever buy.
As for the kit building process, I learned that dry fits are super helpful. The wood should be primed first. Wallpapering and flooring as the house is being built is so much easier than doing it when the house is all glued together. Spackle is an awesome material to make poor quality wood more seamless and clean cut looking. Faux suede makes marvelous dollhouse carpeting. And adding the trims to hide the edges makes a huge difference.
I also learned a few things about myself as a miniaturist. I rather dislike the frilly trims on the Greenleaf kits. I am a huge fan of using clamps. I had a tendency to underestimate the time to build miniatures (my original goal in 2009 was to finish the Coventry in a month LOL). And that I have a slight case of ADHD when it comes to working on dollhouses. 🙂
Unloading the Coventry Cottage:
When I started building in December 2009, I thought I was going to give the finished Coventry Cottage to family or charity. I changed my mind halfway through the building process, because I realized that I need the monies to keep funding my addiction, err, I mean, my hobby.
I would like to sell it, but I have no experience in selling dollhouses.
What’s the going rate for a finished and ready to furnish dollhouse during this time of year (Christmas!)? Its hard to determine on Ebay since many of them are kits. Craigslist, Boston has many finished RGT dollhouses selling for $100-$150 (tough competition!). On Etsy, I’m seeing a few priced $100-$600k for the finished Arthur/Orchid kits. One guy there is even selling a finished, unfurnished RGT farmhouse for $1.5k.. jeez! Everything is all over the place, but I’ll probably try all the venues.
Do you have any experience unloading a (fairly unremarkable) finished Greenleaf kit? Tips, thoughts, suggestions? My goal really is to make enough to be able to afford that ball jointed doll hehe. Yes, I do have a master plan after all! *evil laughter*

Yaayyyyy!!! I like yours so much better than mine… I will be redoing it and selling it next year, now that I have learned all the same things as you. 🙂
Ahem. A “slight” case of ADHD?!?!?! bwhahahahaha.
I think you could reasonably charge 3 times the cost of the kit. Pay for the kit, materials and time. So, maybe between $150 and $180? Plus, it’s already put together and in a good, non-standard color. Not every little girl is a pink girl.
Hope it sells!
Yep, I personally HATE pink, so I’m rooting for the other little girls out there just like me! In retrospect, I should have applied the shingles fishscale curved up with the square on the bottom since the fishscales makes it look way too whimsy.
And yeah, $150-$180 is the goal. I posted on Craigslist for $200 (assuming that I will get haggled down) and on Etsy for $175. Hopefully I get a buyer soon =X
Hello there, was wanted to say thankyou for a very enjoyable blog! Have had huge amounts of fun reading it and laughed out loud quite a few times (much to yougest daughters annoyance! Hehe)
I tried making greenleaf furniture once…… Much cussing later the surviving peices went to local charity shop (the other, less fortunate ones ended up on the fire!) So well done you for managing a whole house! And I love the colour scheme you used, really pretty.
Absolutely love the modern furniture you own, would happily sell my Mother for a few of them………. ;0)
Again many thanks and finally…….. Did you manage to sell the house??
Mini Hugs Jo
Thank you so much for the wonderful comments Jo! I am so happy you enjoyed the blog… I feel ya on the Greenleaf kits. It truly is a test of patience!
I did manage to sell it. I sold it from Etsy to a local woman who found the dollhouse there. I think I only managed to sell it after lowering the price to remove the cost of labor. I enjoyed working on it so I don’t mind not getting paid for labor. I was happy as long as it covered the cost of the kit and the materials that went into, which it did, so its a win-win for me and my buyer.
I’m also glad you like my modern stuff… does your mom bake cookies? 😉 lol! You know I am open for bartering and swaps!
Lastly, you ought to start your own blog so I can follow it!
I can definitely relate to your issues on this project.
I’ve never bought a Greenleaf kit but, I did purchase a Duracraft farmhouse years ago (Their houses were very similar to Greenleaf – punch-out sheets, flimsy wood, etc.). The construction was unnecessarily time-consuming (Doors and windows had to be assembled; each floor came in 3 pieces that had to be spliced and glued together instead of coming in one single sheet. It took me over 2 weeks just to assemble the chimney! And the wood was very poor quality – every piece had to be thoroughly sanded and the wood splintered if you so much as looked at it.
I now have a Real Good Toys kit (The Victorian Farmhouse Jr.) and it SO much easier to assemble and is of a much sturdier and high-quality material.
RGT kits are more expensive but, ultimately, they are worth it.
Also, you can get pretty good deals at Hobby Lobby stores (My kit was on sale for only $80 )
Thanks for posting your blog. I got a hand me down coventry cottage kit with all the pieces… except instructions. I used your detailed photos to figure out how to put it together. I didn’t always do things in perhaps the best order, but I’ve got a house!
Awesome, I hope you had fun building it. So glad to be of help!