So today is day 1 on the project.
Time to read the instructions.
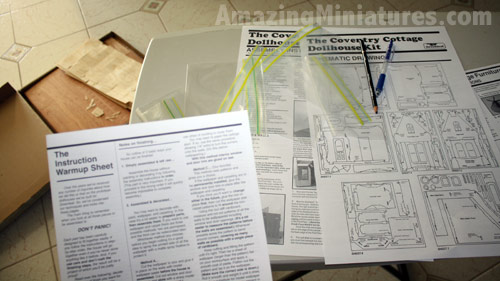
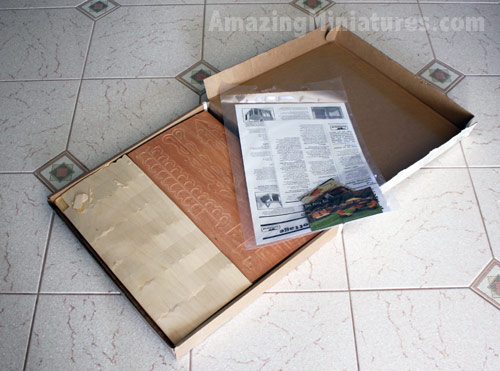
Since this is my first kit ever, it was quite a lot to digest! I did sort of prepare though. Notice the pen and pencil ready so I can mark those soon-to-be punched out pieces along with some sandwich bags to hold the loose parts pictured above.
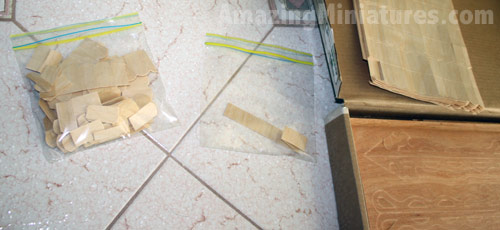
I start punching out the veneer shingles that were included in the kit and stick them in my sandwich bags. There were some nice pieces of scraps that I shoved into another bag. It took about 45 minutes to an hour to separate all the shingles. I was taking my time and being careful not to splinter them. I was also watching the Lord of the Rings as this process was going on, so it wasn’t all that bad!
Just to be on the safe side, I decided to work on the included furniture kit first just to get the hang of working with the wood and following along with the directions.
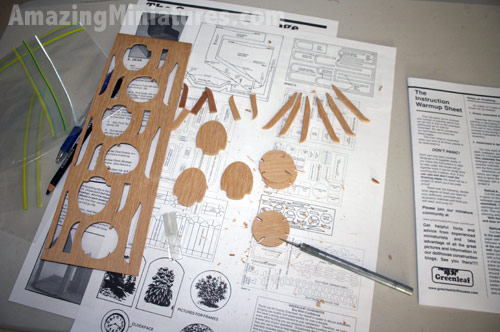
To be honest, I did expect to do some sanding to smooth out the edges, but I didn’t think I had to be that involved in cutting the pieces and sanding just so they can fit.
So the process was to punch out the parts according to the instruction sheet, fit them together, sand/trim if necessary, then glue them together. Yes its time consuming, but I am enjoying myself.
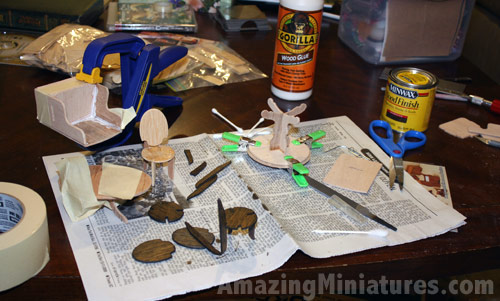
The furniture are coming along nicely.
I experimented with different methods to see what works best. That includes playing around with the stains and the glues. I actually ended up using 3 different types of glues to put together the furniture. I tried hot glue, wood glue, and tacky glue. My glue of choice is the wood glue and that’s what I’ll be using to cobble together the Coventry Cottage.
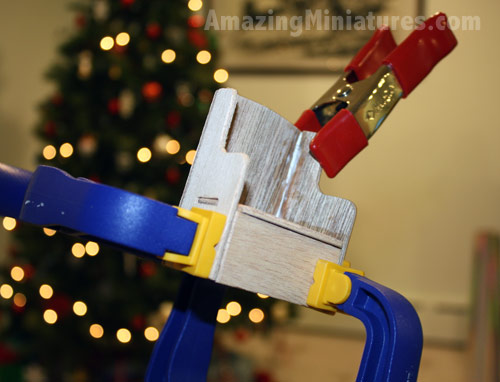
The wood glue working it’s magic. If you’re wondering, that’s 3 whole clamps used to align the easy chair together.

No comments yet.